
MUA have been frontrunners in bringing creative and stylish nail DIYs to the masses at a reasonable price, & the latest instalment, Fur Effects, is no different. Coming in a range of 4 colours, the flocking style nail fluff is perfect for occasions or just something a bit different. The 1.5g pots can be purchased at Superdrug at £3. With valentines day coming up fast, I went for the 'Fluff & Cuddles' shade, but also got the 'Fluffy Bobbin' shade to try at a later date.

I used a base shade in a colour as close as I could match, in this instance Ted Baker in 210nn, with a gold highlight nail to break up the colour. The fluff is relatively easy to apply, although getting it out of the pot posed a slight challenge.
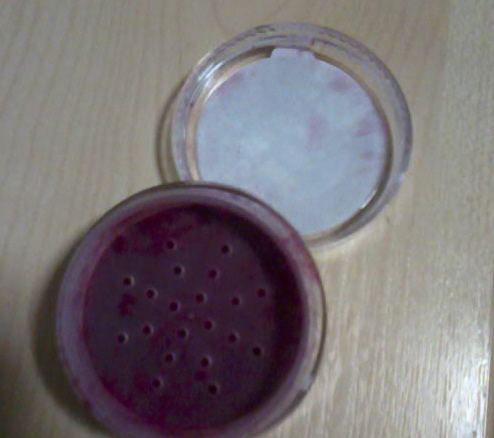
The sprinkler lid means you have to bang on the back of the pot quite hard to get any out, the instructions say that this lid can be removed but I struggled to do so, in fear of breaking a nail, so I persevered. When you have a fair amount loose, paint one nail at a time with another coat of polish and dip into the fluff. Try and roll the nail from side to side, but don't worry if you can't cover all of it. The fluff is easily manipulated once on the nail and can be patted around for an even finish.
It's quite hard to do the fluff effect justice in a photo, but this is an example of how it looks compared to the basic polish;

It's quite hard to do the fluff effect justice in a photo, but this is an example of how it looks compared to the basic polish;


Brush off any excess fluff and there you have it! Leave to dry and you are ready to flock your way forward with the best of them!
Enjoy!
Magenta & The Acorn

Magenta & The Acorn


